
Installing CoachProxy
CoachProxy plugs into any Spyder Controls network port in your coach. The connector only fits in one direction, so you do not need to worry about connecting it backwards. Some suggested install locations are:
- Inside the passenger console, to the right of the passenger seat.* (important – read note below)
- Directly into the Spyder Controls House Panel (usually in the bedroom or closet)
- Directly into the Spyder Controls Chassis Panel (usually inside the front bay under the driver’s seat). Note, this location is not recommended as it usually causes significant electrical interference in the CoachProxy WiFi signal.

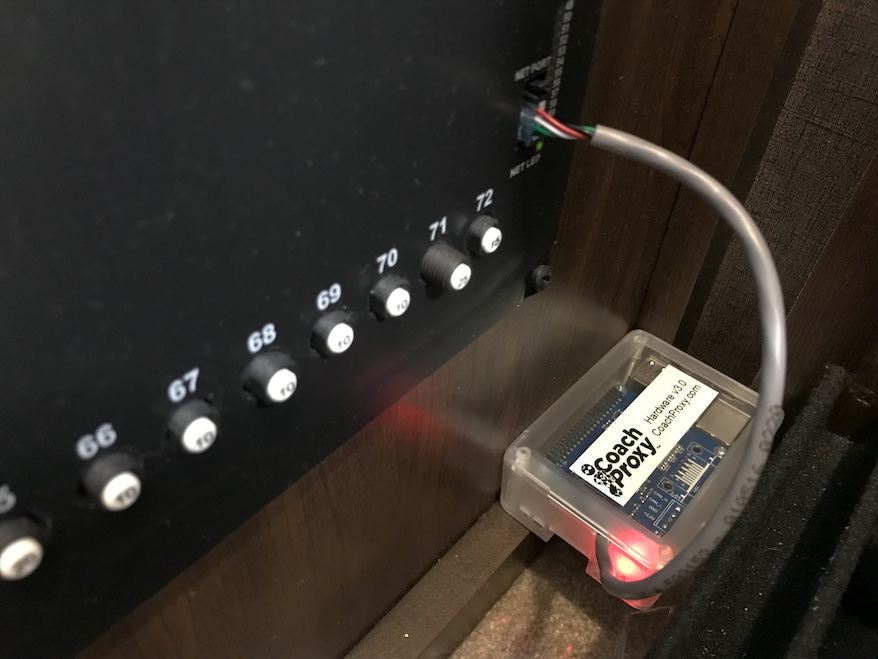
1. Plug the CoachProxy cable into an open Spyder network port until it clicks into place.
2. After connecting, CoachProxy’s red power light will turn on, and its green activity light will begin blinking.
3. Wait about two minutes for CoachProxy to fully start up.
Next: Connecting to CoachProxy’s Wi-Fi

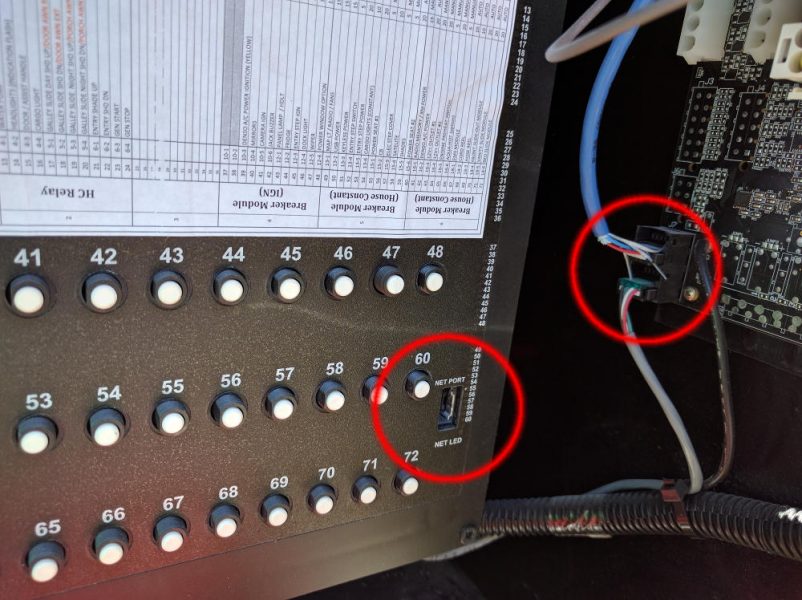
When installing inside the passenger console, you may need to also purchase a 4-port Spyder hub and cable. Coaches with two Spyder keypads on the console (one on top and on next to the door) typically already have a hub inside the console with a free Spyder port for a CoachProxy connection. Coaches with only one keypad on the console (Open Road, RED, and pre-2018 Phaeton) typically require a hub in order to connect CoachProxy. Also, 2019 coaches with THREE keypads in the front (2019 Phaeton and Bus with a keypad outside the door) will require a hub in order to connect CoachProxy. When installing a new hub, you will unplug the existing Spyder cable from the keypad, and plug it into your hub. Then, plug CoachProxy into the hub and plug the hub’s spare wire into the keypad (photo, right).